
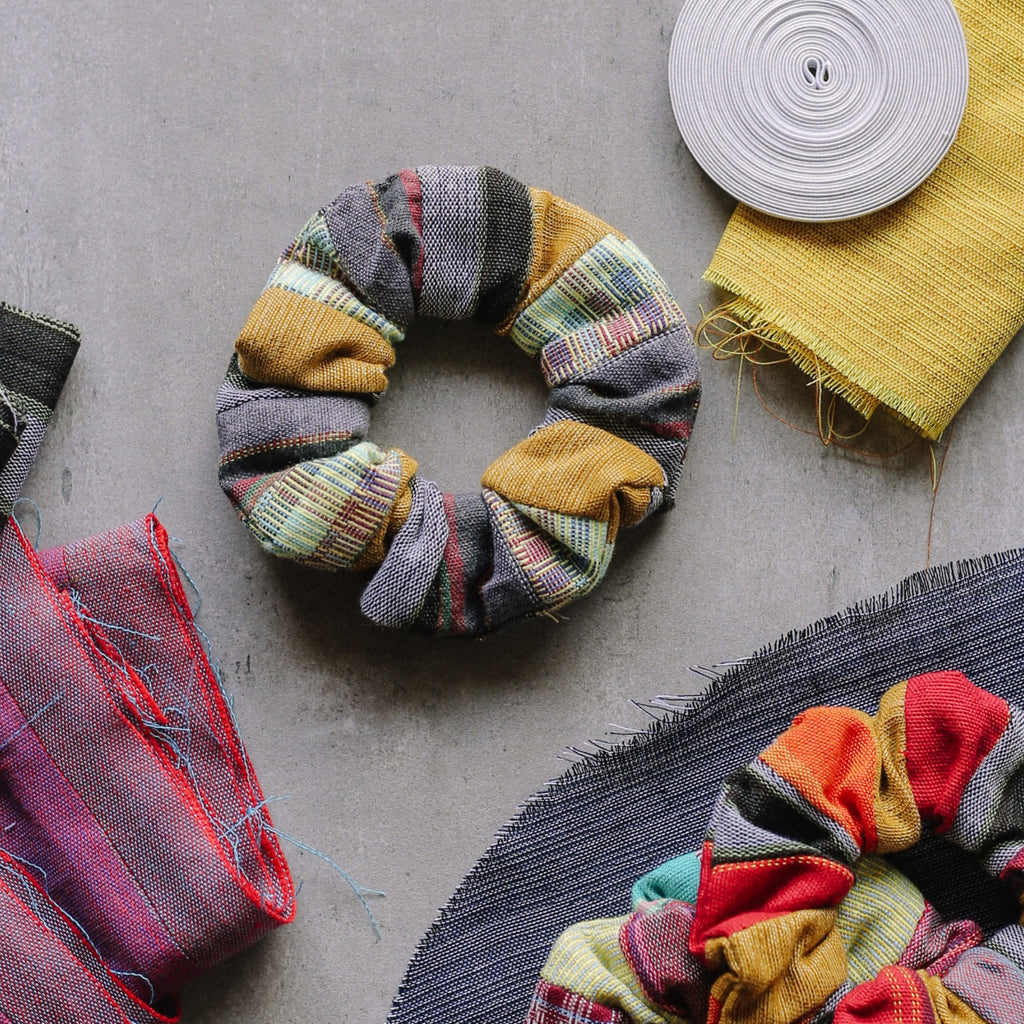
A scrunchie made easy!
Tie a ponytail or bun up your hair in style! Scrunchies are back and we level it up with a patchwork of weaves. You can add your own personal touch to this hair accessory staple by making it yourself. Follow these easy steps and start creating your collection of scrunchies. They make the perfect gifts for your girlfriends too!
You can also purchase our DIY Scrunchie Kit here. These include fabric scraps of an assortment of weaves.

Scrunchie DIY Kit
₱999.00This kit includes everything you need to start making your own scrunchie.
VIEW PRODUCT
SECTIONS

What You’ll Need:
- Fabric scraps
- Garter/Elastic
- Needle and thread
- Fabric scissors
- Safety pin
The Steps:
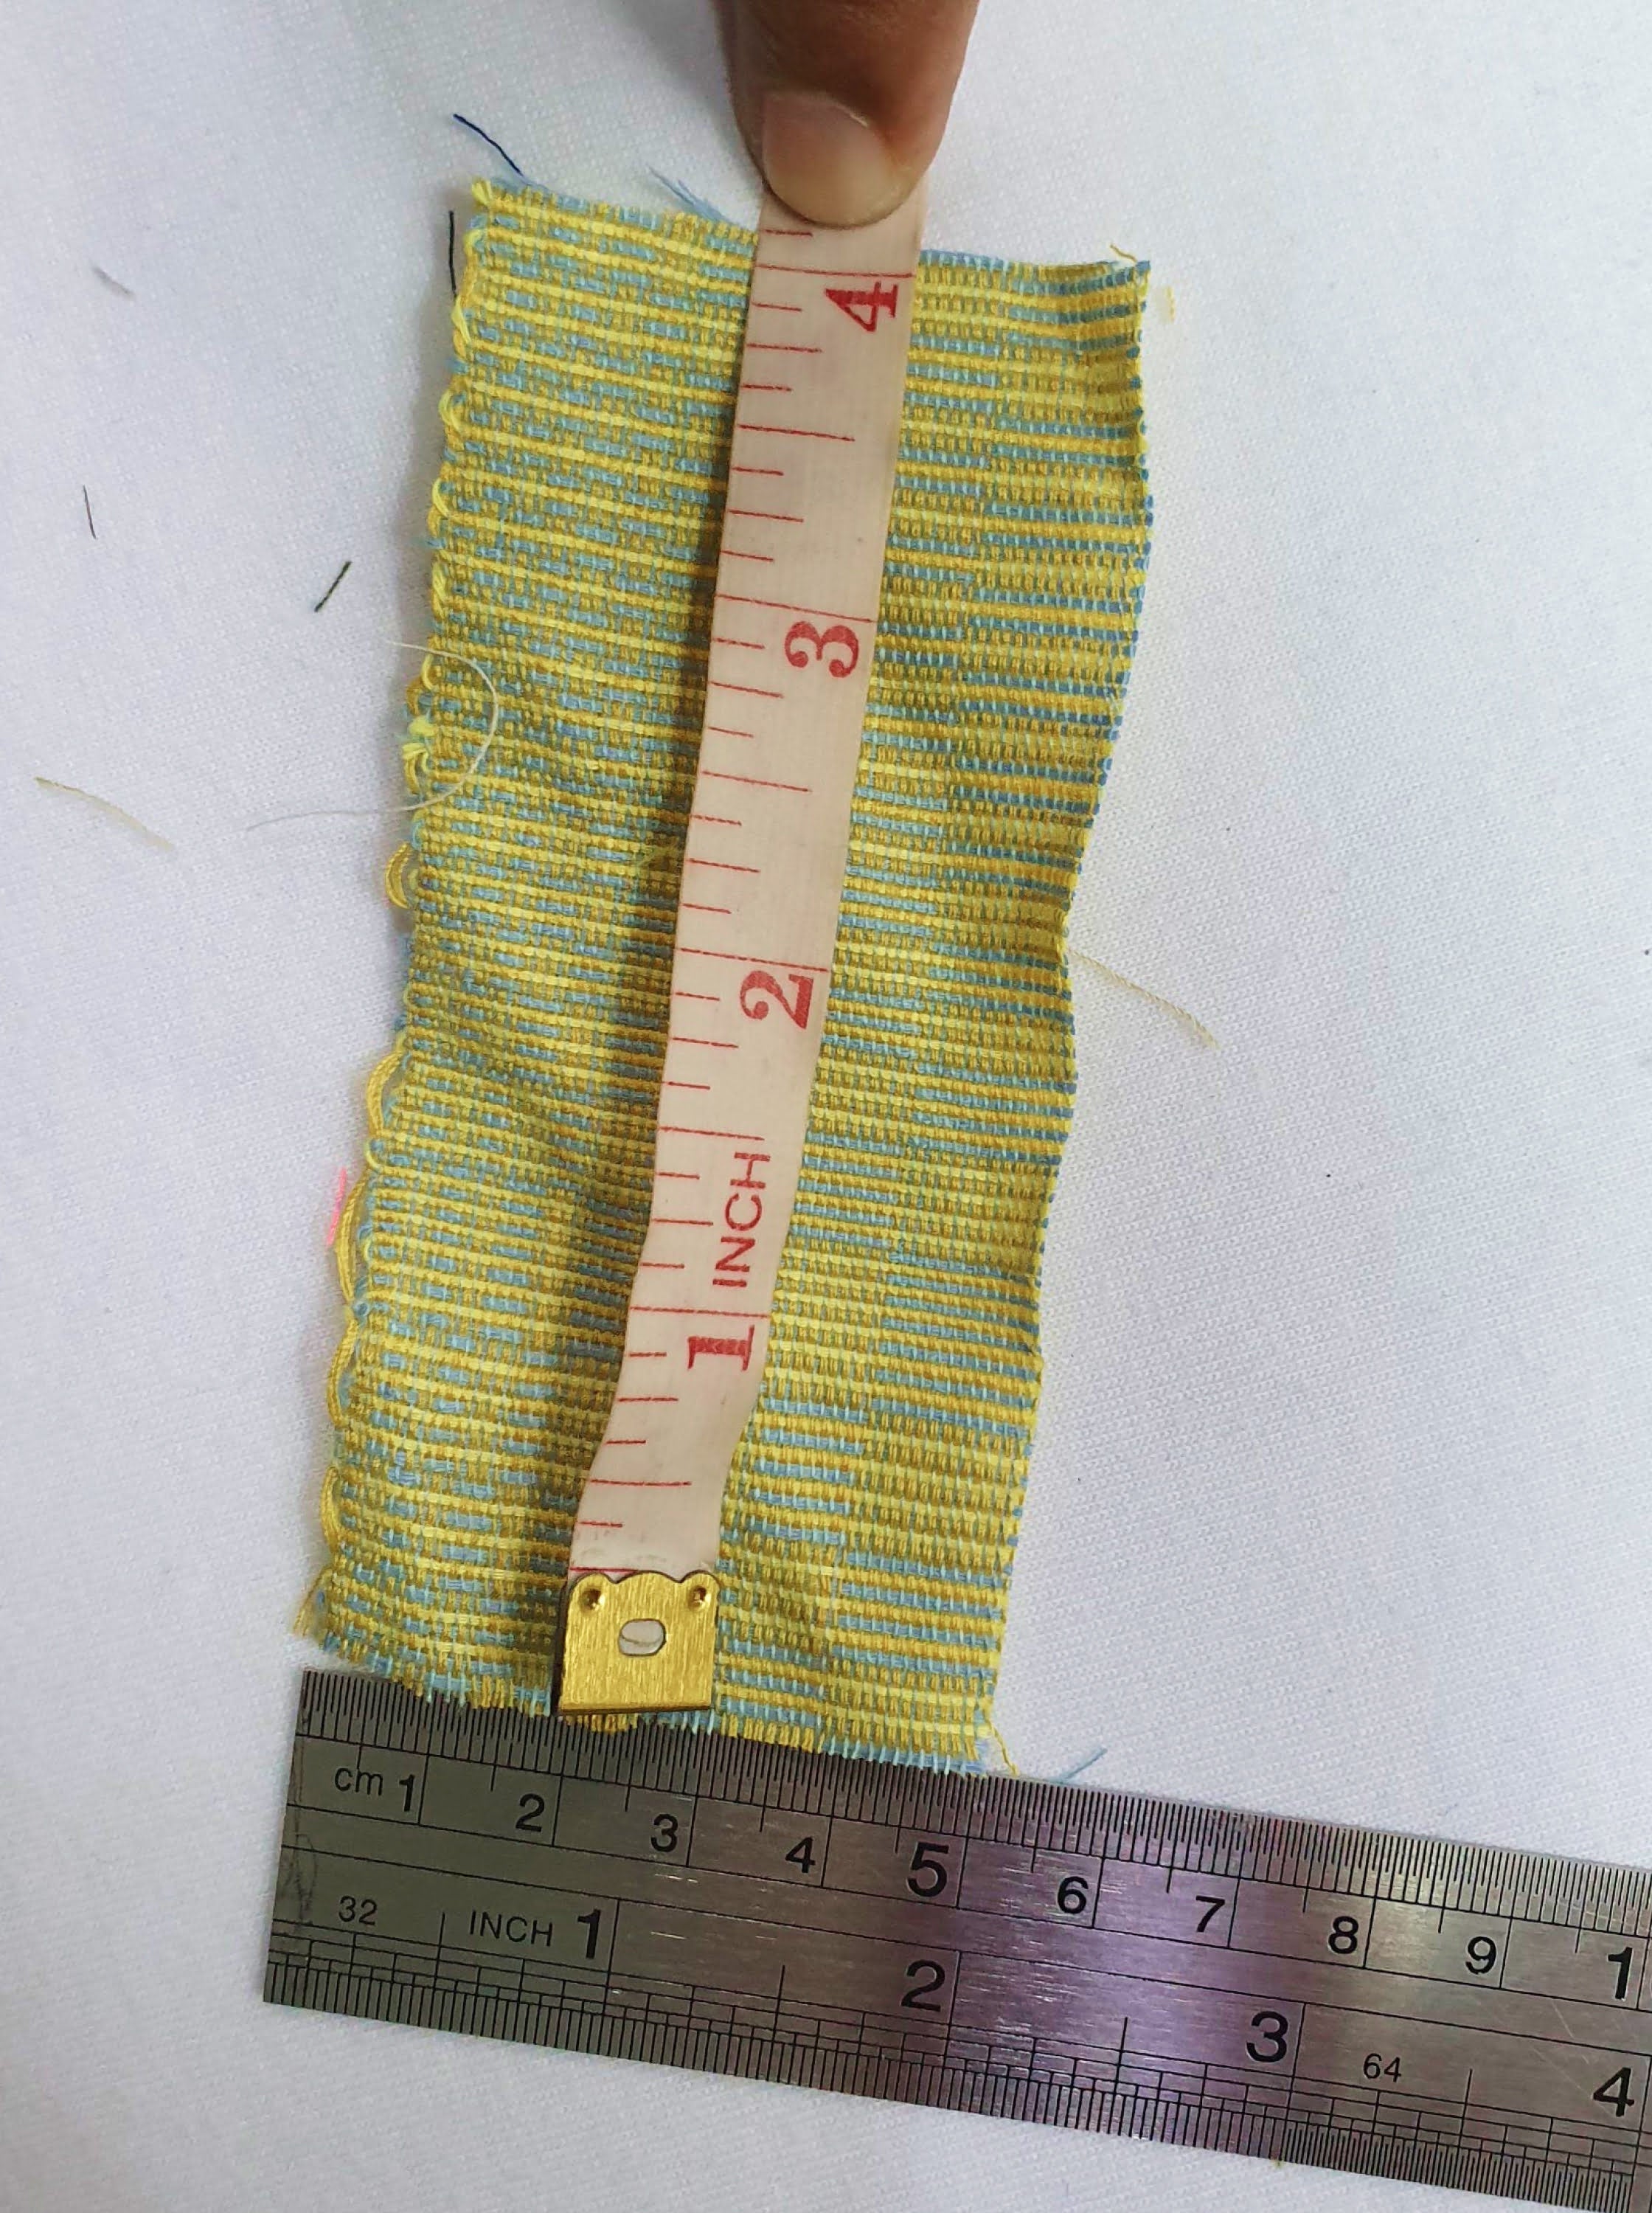
- Measure and cut out 16 pieces of 2” x 4” fabric strips. The ½” allowance on all sides is already included in the measurement. You can also adjust the size of the fabric strip depending on your preference.
NOTE: the number of fabric strips per color would also depend on your preference. Let your imagination loose on this one!
-
Stitch the fabric strips together on its longer side. When you’re done, you’ll end up with one long strip of fabric.

-
Fold the fabric in half with the right sides in. You want to match the longer edges together.
-
Stitch the long edge about a ¼ of the length and leave at least a 1” inch wide gap then stitch the remaining edge. You will end up with a tube.

- Take a safety pin and pin it to the end that does not have the gap. Using the safety pin, turn the tube halfway in and match the seams and the short ends together.
TIP: you can attach the safety pin to the seam so you won’t accidentally rip the edge of the fabric -
Do an overhand stitch on the short ends around the tube.
-
Once the tube is sewn together around the ends, turn the tube right side out through the gap. You’re halfway there!
-
Cut a 7 ½” long ¼” wide garter. Mark one dot at each end that is ½” away from the edge. This will be for your sewing allowance.

-
Get a safety pin and pin this to one end of the garter. Slowly insert the pin with the garter into the scrunchie until it reaches the other end.
TIP: Pin the opposite side of the garter (without the safety pin) to the outside of the scrunchie so it doesn’t get pulled inside while you insert the garter -
Once your safety pin with the garter reaches the other end, pin the two ends of the garter together. This will be easier for you to hand sew the two ends of the garter together.

-
Hand stitch the two ends of the garter together. Make sure it is secure by stitching over it a few times.

- Once your garter is secure, stretch it out so the gathers on the scrunchie are even.
-
Lastly, hand stitch the opening of the scrunchie to close it.


Congratulations! You had made your own scrunchie! You are now a Proud Weave Crafter. Share your completed projects and designs with us by tagging us on @anthillfabric and use the #ProudWeaveCrafter #ProudWeaveWearer
Scrunchie DIY Kit
₱999.00This kit includes everything you need to start making your own scrunchie.
VIEW PRODUCT