
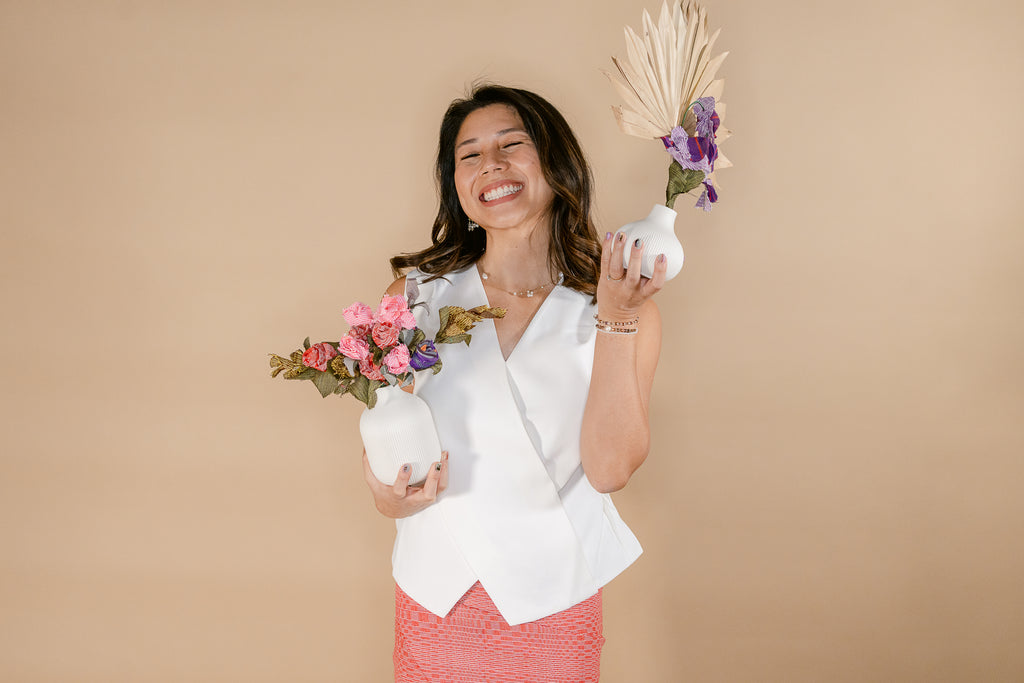
Flowers have a magical way of brightening up any moment, but what if you could enjoy their beauty forever? Our Craft Collaborator for May, Jea Tang, has prepared a guide where you can create your own Forever Flowers.
Whether you're a seasoned crafter or just starting out, Jea's step-by-step instructions will help you bring these everlasting blooms to life. From delicate roses to blooming flowers and elegant orchids, each creation is crafted with care and attention to detail.
An added bonus for this project is that you can either enjoy it solo or bond with your loved ones while creating each bloom.
Here is a guide prepared by Jea on how you can make your own Forever Flowers.

|
Roses 1. Prepare the Fabric: Cut a strip of fabric measuring between 3-3.5 inches and 10 inches long. Make sure the fabric edges are straight and smooth. 2. Seal Edges (Optional): To prevent fraying, you can seal the fabric edges. Carefully pass the edges over a candle flame, taking care not to touch the fabric directly to the flame. Move slowly and evenly to avoid burning. 2. Seal Edges (Optional): To prevent fraying, you can seal the fabric edges. Carefully pass the edges over a candle flame, taking care not to touch the fabric directly to the flame. Move slowly and evenly to avoid burning.
3. Fold Fabric: Fold the fabric strip in half lengthwise. Press along the fold to create a sharp crease.
4. Begin the Rose: At one end of the folded strip, fold a small corner diagonally to create a triangle shape with the pointed end facing up. Roll the longer end of the fabric down 90 degrees, then roll the fabric inward around the triangular end. Secure with glue.
5. Continue Rolling: Continue rolling the fabric, keeping the folded shape intact. Apply glue along the edge as you go to keep the fabric from unrolling. Roll until you reach the end of the fabric strip.
 7. Add Leaves: Refer to the "Leaves" instructions to cut and seal leaf shapes. Once prepared, glue the leaves onto the base of the flower and stem for a natural appearance. 8. Repeat: Repeat these steps to create multiple roses for your Forever Flowers bouquet. |
| Blooming Flower
1. Prepare the Fabric: Cut a fabric strip measuring 2.5-3.5 inches wide and 8-10 inches long. The dimensions will affect the flower's size and volume.  Seal Edges (Optional): To prevent fraying, carefully pass the fabric edges over a candle flame, moving slowly to avoid burning.  6. Attach the Stem: Apply glue to the base of the flower and insert a stem (such as a thin wire or stick) into the glued area. 6. Attach the Stem: Apply glue to the base of the flower and insert a stem (such as a thin wire or stick) into the glued area.
7. Add Leaves: Refer to the "Leaves" instructions to prepare leaf shapes. Glue them onto the base of the flower and stem.
8. Repeat: Repeat the process to create multiple flowers for your bouquet.
|
|
Orchid Prepare the Fabric: Cut individual pieces for the orchid, such as petals and the lip, according to the desired orchid shape. Seal the edges by carefully passing them over a candle flame. Create Orchid Parts:   Piece 2: Create two parts for the petals. These can be rounded or elongated shapes, depending on the orchid variety. Piece 2: Create two parts for the petals. These can be rounded or elongated shapes, depending on the orchid variety.  Assemble the Orchid: Arrange and glue the different parts together to form the orchid. Follow the natural arrangement of the flower for a realistic look. |
|
Leaves 1. Prepare the Fabric: Cut fabric into leaf shapes according to your desired size and style. 2. Seal Edges: Carefully pass the fabric edges over a candle flame to seal them and prevent fraying. 3. Attach Leaves: Glue the prepared leaves onto the base of the flower and along the stems for a more natural appearance.    
|
Make special moments unforgettable with our Fabric Flower Craft Kits, designed to embrace sustainability and circularity. Whether you're a seasoned crafter or just starting out, these kits offer an opportunity to create everlasting blooms from handwoven fabric scraps.


HOPE YOU HAVE FUN WITH IT!
Order yours here, each kit is priced at Php 1,699. You may also watch the Video Tutorrials here.
|
We’d love to see your version of the Forever Flowers — Share your completed projects and designs with us by tagging us on @anthillfabric and use the #ProudWeaveCrafter #ProudWeaveWearer |
Leave a comment